How to Manage Notification Grouping on iPhone
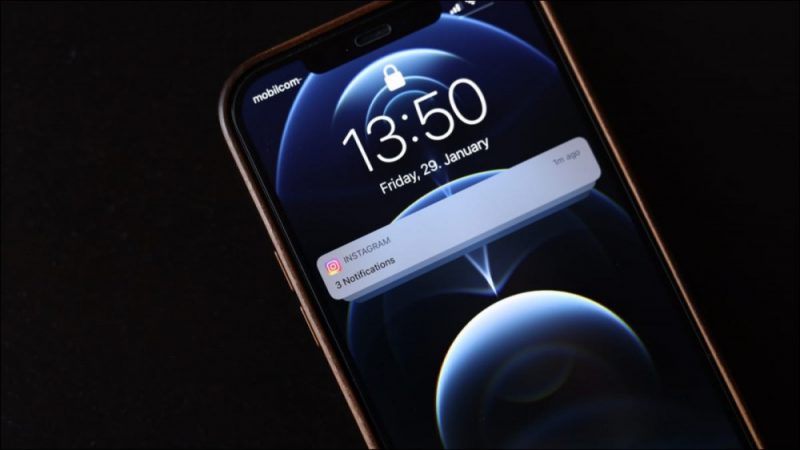
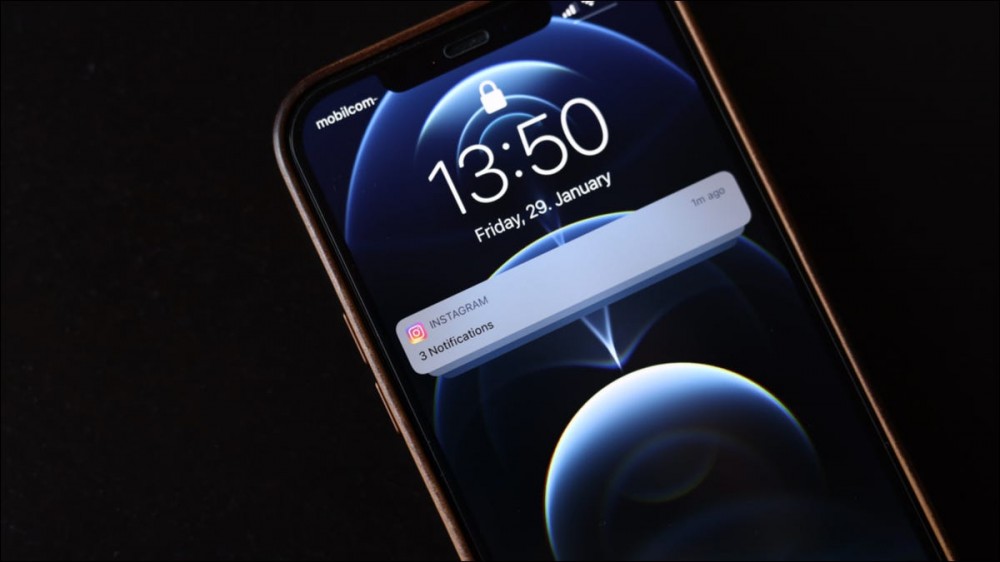
iPhone notifications can be a bit overwhelming at times. Notification Grouping is a feature that aims to help you clean things up. We’ll show you how to use it to bring some more organization to your iPhone.
What is Notification Grouping on iPhone?
Introduced in iOS 12, Notification Grouping does basically what the name implies. Rather than every single notification showing up on the lock screen and Notification Center separately, they can be grouped into bundles.
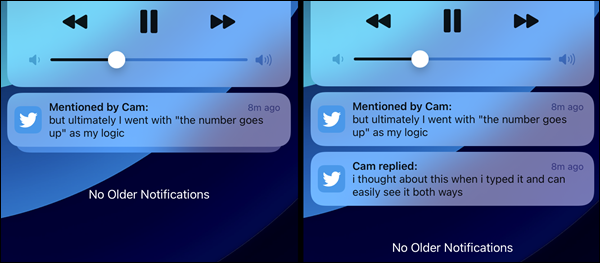
The image above shows how two notifications from the Twitter app look when grouped and ungrouped. On the lock screen, grouped notifications will expand when the device is unlocked. In the Notification Center, you can tap the bundle to expand it.
How to Use Grouped Notifications on iPhone
First, open the “Settings” app on your iPhone.
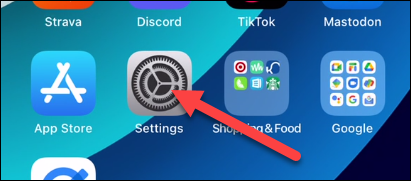
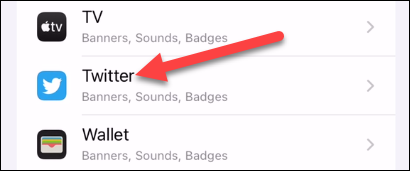
Next, go to the “Notifications” section of the Settings.

Select any app that you would like to configure Notification Grouping for. There is no option to adjust Notification Grouping for all apps at once.
Scroll down and select “Notification Grouping.” This setting is in the “Lock Screen Appearance” section, but it also applies to the Notification Center.
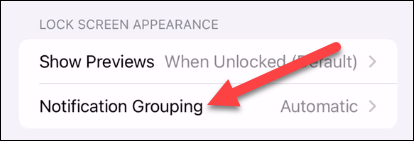
There are three different modes of Notification Grouping, “Automatic” is the default.
- Automatic: The notifications from the app are intelligently grouped by threads, topics, and other criteria.
- By App: All the notifications from the app are grouped together.
- Off: Notifications are not grouped at all.
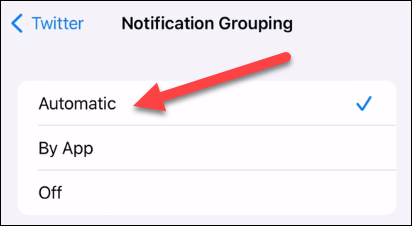
That’s all there is to this simple but effective feature. In general, the “Automatic” setting is best for the majority of apps, but you probably have a few exceptions. There’s a lot you can do to tweak iPhone notifications to your liking.
RELATED: How to Master Notifications on Your iPhone


